Appearance
Databricks Integration
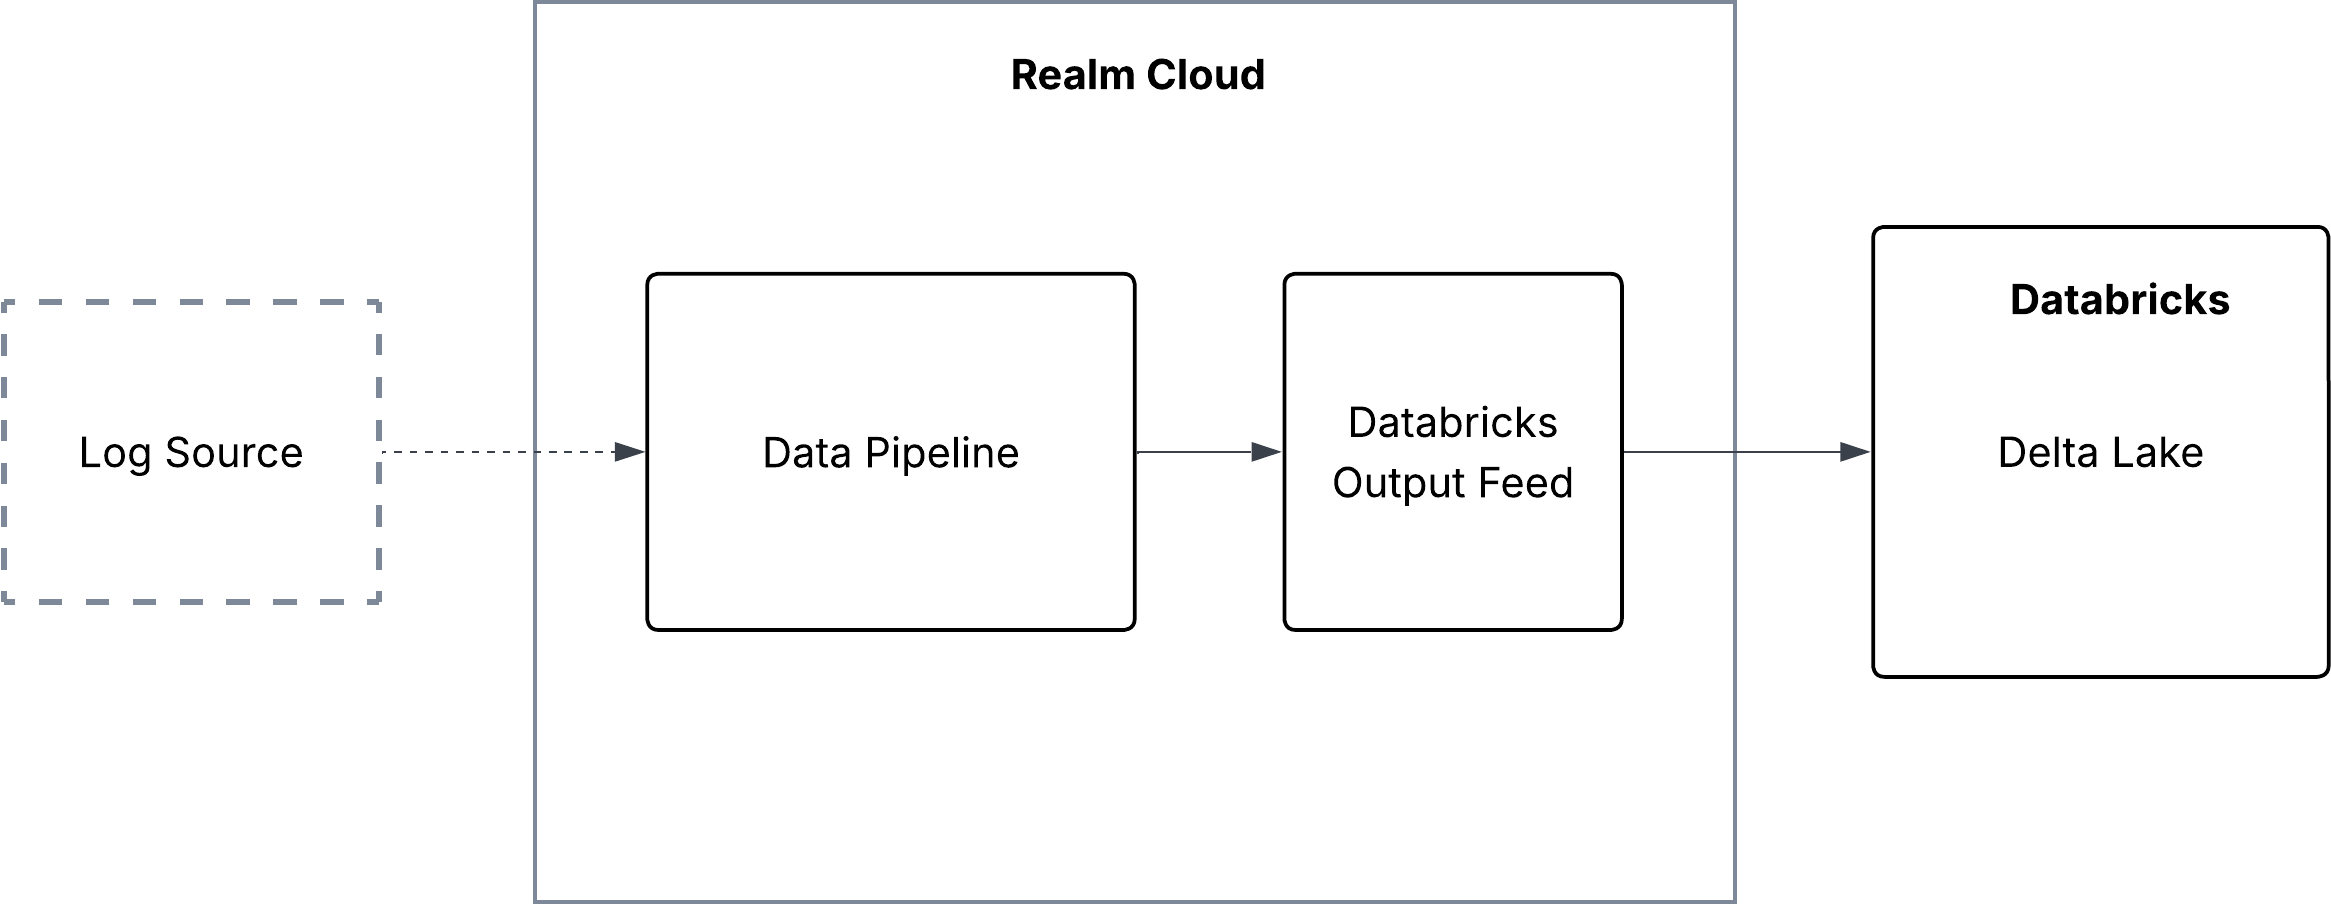
Send Logs to Databricks
This guide walks you through connecting Realm to Databricks as a destination. Realm forwards your log data to a Delta table in Unity Catalog using the Databricks Zerobus ingestion service, authenticated via OAuth 2.0.
Prerequisites
- Access to the Realm Security console
- Active Databricks workspace with Unity Catalog enabled
- Administrator access to create Service Principals and manage Unity Catalog permissions
- A Delta table in Unity Catalog configured as an external location (not default managed storage). This requires:
- Cloud storage infrastructure (S3 bucket, R2 bucket, or equivalent) provisioned by your organization
- A Databricks storage credential with access to that storage
- A Databricks external location that references the storage credential
- For Azure Databricks: Configure external locations on Azure and Create an Azure storage credential
- Cloud storage that is not secured through a private endpoint. Zerobus Ingest does not support private endpoint storage.
Note: Unity Catalog supports multiple cloud storage backends for external locations: AWS S3, Cloudflare R2, DBFS Root, and Azure Data Lake Storage Gen2 (ADLS Gen2). Refer to the Unity Catalog cloud storage documentation for setup instructions for your storage provider.
Create a Target Delta Table in Databricks
Important: Zerobus Ingest only supports writing to managed Delta tables, and writing to default (metastore root) storage is not supported. Your target table must be a managed Delta table backed by an external storage location, not a Unity Catalog External table. See Zerobus Ingest connector limitations for details.
Before creating the table, ensure your catalog and schema are configured to use an external location. Follow the Unity Catalog cloud storage documentation (or the Azure equivalent) to connect your cloud storage and create an external location.
Once your external location is configured:
Open your Databricks workspace and navigate to the Catalog using the left sidebar.
Select or create a Catalog and Schema backed by your external location:
- Creating a catalog: uncheck Use default storage and select your external location from the Storage location dropdown.
- Creating a schema: select your external location from the Storage location dropdown if it is not already selected.
Note: If the storage location is not set to your external location for both the catalog and schema, managed tables will use the metastore root instead — the table will not be accessible to Realm.
Create a new Delta table within that schema.
The table name follows the three-part Unity Catalog format:
text
<catalog>.<schema>.<table>For example: main.security.realm_logs
Note: Delta tables are the standard table type in Unity Catalog. For more information, refer to the Databricks Delta table documentation.
The table schema must match exactly what Realm sends. Use the following CREATE TABLE statement, replacing the catalog, schema, and table name with your own values:
sql
CREATE TABLE IF NOT EXISTS <catalog>.<schema>.<table> (
  raw             STRING,
  parsed          STRING,
  observables     MAP<STRING, STRUCT<values: ARRAY<STRING>>>,
  realm_metadata  STRUCT<
    source:          STRING,
    source_type:     STRING,
    destination:     STRING,
    input_feed:      STRING,
    output_feed:     STRING,
    event_type:      STRING,
    event_timestamp: TIMESTAMP,
    ingested_at:     TIMESTAMP,
    collector:       STRING
  >,
  enrichments     ARRAY<STRUCT<
    src_field:     STRING,
    dataset:       STRING,
    dataset_field: STRING,
    value:         STRING
  >>
)
USING DELTA;
Note: The
enrichmentscolumn is nullable by default in Delta — events without enrichment data will not be rejected.
Create a Service Principal and Generate OAuth Credentials
Note: If your Databricks instance is hosted on Azure, you can authenticate using either a Databricks-managed service principal (covered below) or a Microsoft Entra ID-managed service principal. For the Entra ID path, refer to the Azure Databricks service principal documentation and the Microsoft Entra ID app registration guide.
- In your Databricks workspace, click your username in the top bar and select Settings.
- Open the Identity and access tab.
- Next to Service principals, click Manage.
- Click Add service principal, then select Add new.
- Enter a name (e.g.,
Realm Security) and click Add. - Open the newly created service principal and click the Secrets tab.
- Click Generate secret.
- Copy the Client ID and Secret values and store them securely.
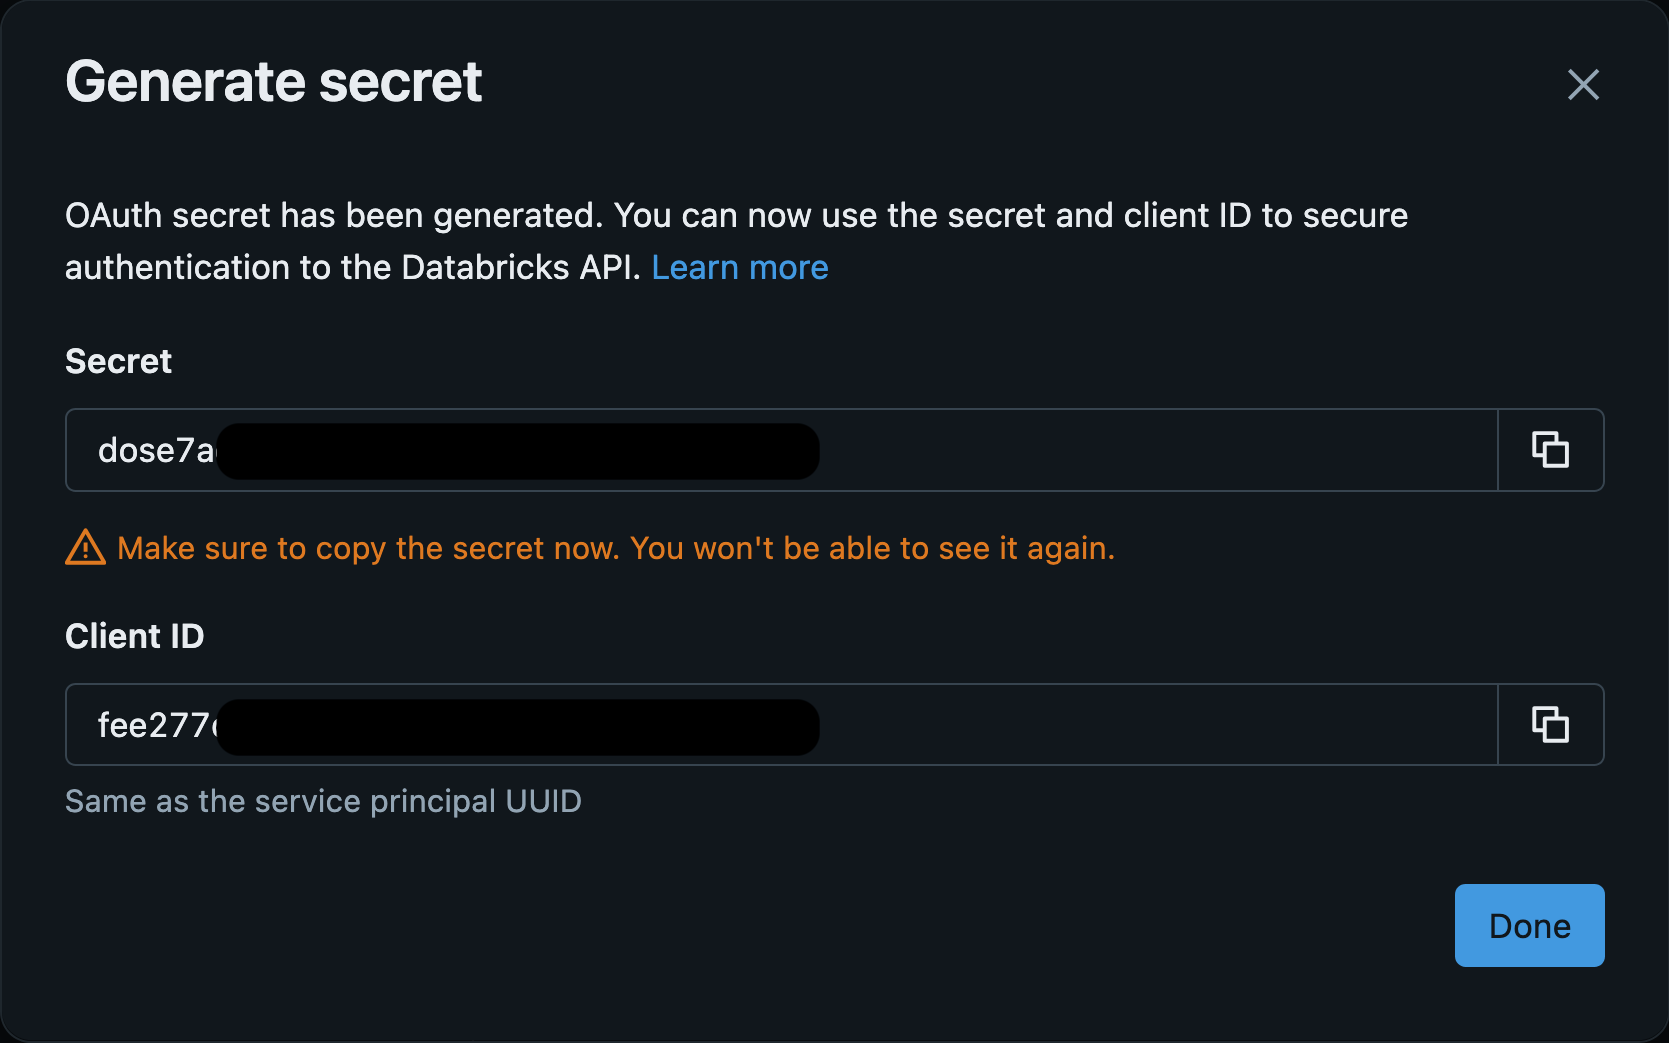
Important: The client secret is only shown once at creation time. Copy and save it immediately, you will not be able to retrieve it again. OAuth secrets expire; refer to the Databricks OAuth documentation for lifetime limits and rotation guidance.
Grant Unity Catalog Permissions
The service principal must have permissions on the catalog, schema, and table. Run the following SQL statements in a Databricks notebook or the SQL editor, replacing the placeholders with your actual catalog, schema, table, and service principal Client ID:
sql
GRANT USE CATALOG ON CATALOG <catalog> TO `<client-id>`;
GRANT USE SCHEMA ON SCHEMA <catalog>.<schema> TO `<client-id>`;
GRANT MODIFY, SELECT ON TABLE <catalog>.<schema>.<table> TO `<client-id>`;
Find Your Databricks Endpoint URLs
You will need two values when configuring the integration in Realm: your Databricks endpoint and your Zerobus ingestion endpoint.
Databricks Endpoint — when you are logged into your Databricks workspace, the full browser URL follows one of these formats depending on where your Databricks instance is hosted:
text
https://<databricks-instance>.cloud.databricks.com/?o=<workspace-id>#
https://<databricks-instance>.azuredatabricks.net/?o=<workspace-id>#
https://<databricks-instance>.gcp.databricks.com/?o=<workspace-id>#
The Databricks endpoint is everything before the /o= portion. For example:
text
Full URL:       https://abcd-test.cloud.databricks.com/?o=2281745829657864#
Databricks endpoint:  https://abcd-test.cloud.databricks.com
Workspace ID:   2281745829657864
Zerobus ingestion endpoint — construct the server endpoint using your workspace ID and region:
text
<workspace-id>.zerobus.<region>.cloud.databricks.com
<workspace-id>.zerobus.<region>.azuredatabricks.net
<workspace-id>.zerobus.<region>.gcp.databricks.com
To find your workspace region, open the workspace switcher in the top navigation bar of the Databricks UI — the region is displayed below each workspace name (for example, us-west-2). You can also find it in the account console under Workspaces. The workspace and target table must be in the same region — cross-region configurations are not supported.
Configure the Databricks Destination in Realm
In the Realm console, navigate to Destinations and click Add Destination.
Add a new Output Feed and select Databricks as the method.
Fill in the following fields:
Name:
Databricks
Databricks Endpoint:<your Databricks Endpoint>
Client ID:<your OAuth client ID>
Client Secret:<your OAuth client secret>Select a Catalog: Using Databricks Endpoint, Client ID and Client Secret, Realm will fetch a list of available Catalogs from your workspace. Select a Catalog from the drop down that contains the schema & table created above.
Select a Schema: Once you select a Catalog, Realm will fetch a list of available Schemas in the selected Catalog. Select a Schema from the drop down that contains the table created above.
Select a Table: Once you select a Schema, Realm will fetch a list of available Tables in the selected Schema. Select a Table from the drop down where the data should be forwarded to.
Zerobus Ingestion Endpoint: Enter your Zerobus ingestion endpoint URL.
Click Add. Realm will begin forwarding log data to your configured Databricks Delta table.
Note: For more details on the Zerobus ingest service, refer to the Databricks Zerobus Ingest Connector documentation.
Monitor Ingestion
Once data is flowing, Databricks provides two ways to monitor Zerobus Ingest activity:
System table: Query system.lakeflow.zerobus_ingest for per-connection ingestion metrics and error tracking. Refer to the Zerobus Ingest system table reference for available fields.
Billing table: Filter the billable usage system table for Zerobus activity:
sql
SELECT * FROM system.billing.usage
WHERE billing_origin_product = 'LAKEFLOW_CONNECT'
  AND product_features.lakeflow_connect.zerobus_request_type IN ('GRPC', 'HTTP');